Rebirth of a 1972 18' Sea Ray 190 I/O Pg 5
Spring 2015: Upgrading the electrical system. See also 14 Steps To Wiring Your Boat
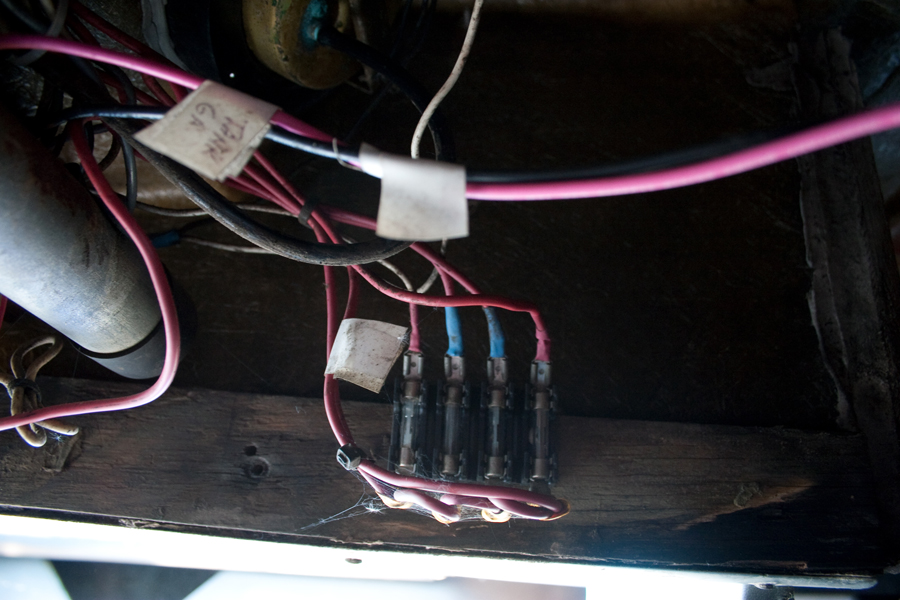
Some items have already been replaced but the majority of the electrical work still needs doing. A look at the back of the instrument dash is daunting. The wiring is not only old but a literal rat's nest with many things that do not meet current (or even 1970's) marine electrical standards. One thing to keep in mind is that this electrical system is less than two feet away from the fuel tank. Fortunately everything is open to the atmosphere so chances of a problem are remote, but it is better to be safe.
Picture 1; old fuse block
Picture 2 and 3: back of the instrument panel.
Work already done.
New Blower Switch: I installed a new blower switch and a new blower.
Alternator: I replaced the alternator early on as one of the first major items replaced.
Battery Switch: There was no battery switch. So the electrical was always energized. I added a switch so the battery could be completely disconnected without actually removing the wires to the battery.
Ignition: Installed a new ignition switch. Also I changed the old make and break distributor to a new electronic ignition distributor. No more adjusting dwell and timing. Once the timing is set that's it. No points to adjust or replace.
Neutral Safety Switch: Replaced the Neutral Safety Switch
Navigation Lights: I put in new wiring for the bow navigation light and installed a new LED bow combination light and a new LED stern all around white light.
Fuel Gauge: New wiring for the fuel gauge.
Accessories plug: (Cigarette lighter) Replaced the plug. I did not replace the lighter. I just want to be able to plug things in such as a radio or search light.
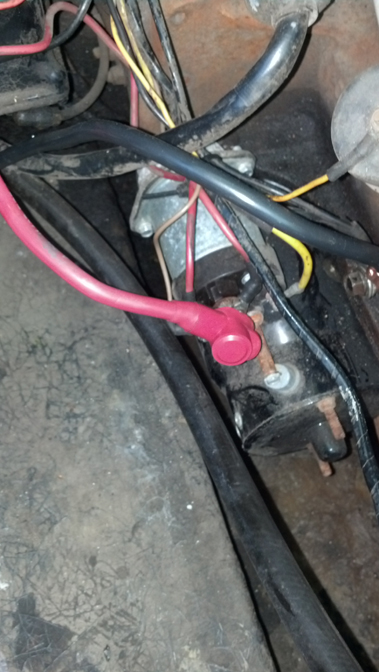
Other Electrical: I added a protective boot over the positive lead on the starter solenoid. This is required by law and prevents any inadvertent contact with metal tools.

|
Future Electrical: Replace all wiring. Install marine fuses and re-directing wiring through the marine fuse block. Replace more switches on the dash.
From Page 3. "Trying to save a few dollars here could cost you your life later. Safety standards for electrical equipment are designed to eliminate sparks, sources of ignition, and to prevent fires and explosions. The most common source of fires on boats is from electrical wiring and equipment, so doing it right is vital."
The first task is to trace out the current system, and make a diagram.
This is far harder than it sounds. You can see from the photos above that there are wires going every which way, There are many wire splices and some posts have up to three wires connected. But to straighten it out you need to know what the present situation is. So I spent several hours under the dash tracing wires, making sketches, and after I got home and looked it over some of it didn't make sense. So I have had to go back and check it several times.
From your sketches make a clean diagram. See Electrical Systems Planning
I wanted to add a VHF FM Marine Radio. But with the mess under the dash I could not determine where to hook it up. So I decide to upgrade the system and straighten out much of the wiring.
I began by replacing the old fuse block with a new block that uses ATO or ATC type mini fuses, has six circuits and has a cover. It also uses ring terminals to hook up wires, preventing corrosion and the possibility of wires coming loose.
 Marine Fuse Block Installed |
 Marine Fuse Block Installed |
There are differences between ATO and ATC fuses. ATO fuses have a hole in the bottom and are open to the atmosphere. If the fuse is in an engine compartment or other space where fumes may accumulate, and the fuse blew, this could cause an explosion. ATC fuses are sealed. No holes. O stands for OPEN. C stands for CLOSED. Use ATC fuses in engine compartments or fuel tank compartments or anywhere gasoline fumes or hydrogen gas from the battery could accumulate. See Wikipedia On Fuses
I marked all the wires with labels stating what the circuit is for. I did not go buy any fancy labels. You can but it isn't necessary. I use white electrical tape and a permanent marking pen. Yes it doesn't look that professional but it does the job and I know what each wire is for and which fuse serves which circuit. A professional boat builder would use a label maker or pre-made labels for this to make it look as neat and professional as possible, but for the amateur doing their own work it is only necessary to mark the circuits.
All of the positive power leads to the fuse block and from the fuse block are new 14 ga. wire. All connections are ring type. All connections are crimped. No solder was used. I use dielectric grease on all connections. On connectors that I pre-made to be installed later I used connectors that had heat shrink plastic insulation. I did not use these on connections made up while installing the wiring because the gasoline fuel tank is so close. I have no desire to chance blowing myself up.
Content Continues After Ad
I also added a ground buss. The negative wires go from instrument to instrument and some have two or three negative wires coming off the back of an instrument. I would rather run one wire to a ground buss and then run a wire to each instrument from the buss.

|
Added kill switch:
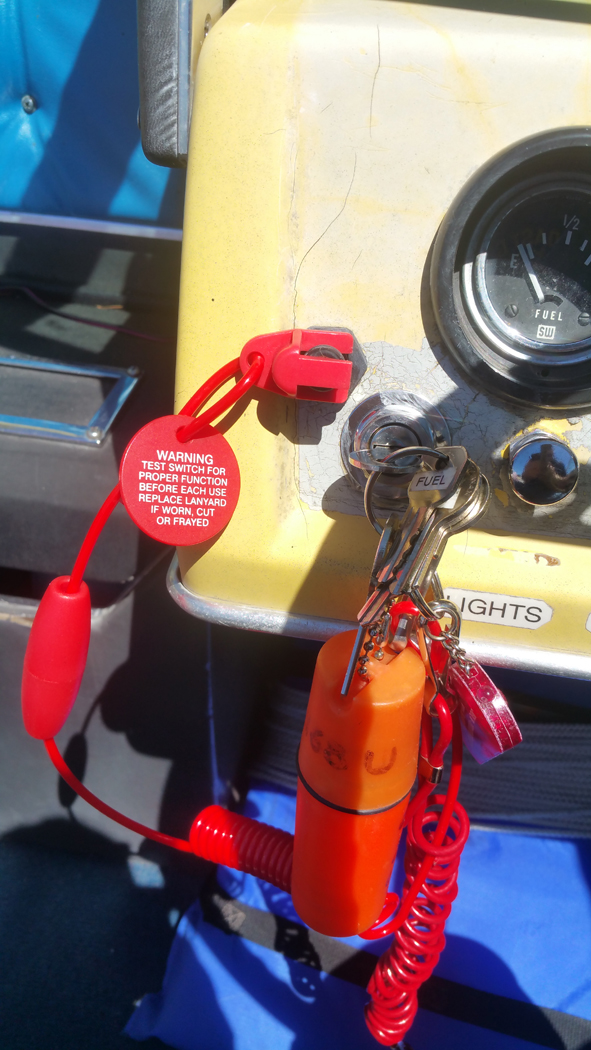
I wanted to add a lanyard kill switch to make the boat safer. Up until now it had just a key start switch. But experience and accident studies have shown that when a person falls overboard the engine doesn't stop and the boat runs over them. The soultion is a switch with a lanyard attached to the operator that kills the engine if the operator falls down or overboard or away from the helm. Location was easy, it had to be close to the start switch. But on this boat there isn't much room on the dash near the start switch. I had to modify the casing on the kill switch to fit it into the area just to the left of the start switch. The kill switch goes into the hot lead from the start switch to the battery. It simply disconnects the power to the start switch.
I was not happy with the insulation I installed on the inside of the engine cover. It was too thick and constantly snagged on the alternator and distributor when removing or replacing the cover. I had been looking for a replacement that was thinner but just as effective. I found that the type of insulation used on windows to reflect heat from the sun works well. This is also used on piping and ducting to retain heat and reduce noise. I does not appear to make any difference in noise of the engine as compared to the other insulation. It is thinner and doesn't catch on engine parts. The brand is Reflectix but there are other similar brands. I bought it at Home Depot and it is available in different size rolls. I stapled it to the inside of the cover with monel stainless staples.
Re-covering seats. The vinyl on the seats is already starting to crack and fray and needs to be replaced. The vinyl also getsd dirty and is almost impossible to clean. The dirt is ingrained in the vinyl. nothing seems to get it out except scrubbing with a stiff brush which damges the vinyl.
Installed VHF radio. Once I had put in a fuse block and negative buss, it was easy to wire in the power to the VHF radio. I installed it on the dash where it can be easily reached by the operator and the LED screen can be easily read.
Replace tachometer: The tach is erratic and needs to be replaced. I bought a new boat dash with all the instruments, I found in a thrift store. It appears to have never been used. The instruments are new and Faria (the brand on the Sea Ray). The tach is the same size as the original and has a similar appearance.

|
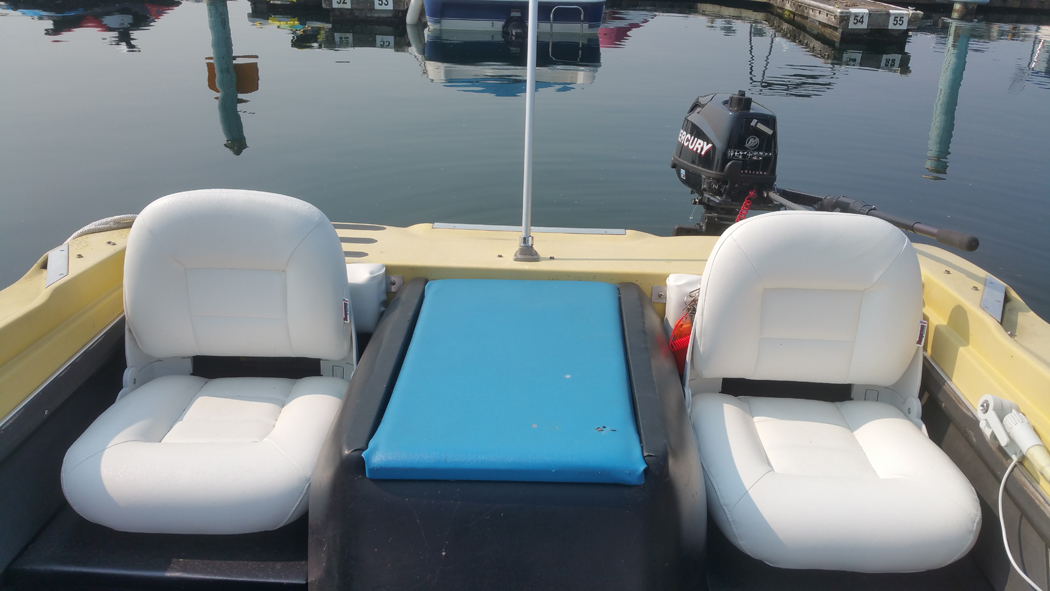
Replaced Rear Seats: I was not happy with the rear seats. They were constantly soaking up water. The back bolsters were uncomfortable. So I tossed out the cushions and replaced them with bucket seats from Temptress in Texas. I had to build a platform to mount them on, but the are very comfortable. The backs fold down which gives access to the battery and battery switch, and the seats can be removed to get at the engine for service.
2018. This Spring at first startup the engine was leaking water. After a carefull examination the block was cracked, and the area around some of the head bolts, and the head bolts themselves, had rusted out after 46 years. So engine needs to be replaced. Choices are:
Complete new engine. Different size and make?
Remanufactured engine: same engine just all new parts:
Long Block and use parts from old engine.
Convert to Outboard: Requires major changes to the transom, and buying an outboard.
Replace in kind. Find a running Mercruiser 165 that the owner wants to sell. This was the least expensive but arguably the most difficult. There are lots of GM 250s available as truck engines, but then they have to be marinized, raising the cost to that of a rebuilt engine. There are some available that have been taken out of their existing boat for whatever reason, but usually because there is something wrong. After about 6 months of searching I found one that the boat owner was swapping out for twin outboards. But it was in good running condition. Then I hired a marine repair service to install it. Handed them the boat in October. The total cost will be around $3K but that is still far less than the other choices which all come in at $5-$6K. Plus for that price they are overhauling the sterndrive too. It was due for an overhaul. Also this engine has a closed cooling system with a heat exchanger which is good if I decide to run it in saltwater.
2019. April. Finally got the boat back with the engine installed and running. Total cost just north of $4k, but that was because I had them service the stern drive, and do some other service on the boat.


