|
Probably the most time consuming and difficult part of this build was constructing and installing the center board. The plans do not show dimensions for the center board trunk on the details. In the Bill of Materials it lists the parts as 2 pieces 12 by 16 inches. So I built it ahead of time only to discover when I installed the mid seat that the height of the center board trunk could not be more than about 9 inches (not 12"). I had to cut three inches off the top. See Fig. 11. Fig. 12 Shows the trunk from the rear, with the bow seat ahead. The clamps and dowels were used to align the trunk with the centerline of the boat and the slot in the bottom. What you can't see here is that the cap on the trunk extends under the midseat about 8 inches. Eventually I will put two screws through the seat to lock the seat and trunk together. |
|
|
Next I flipped the boat over and after making and fitting a skeg, and two pieces to protect the centerboard slot, I glued them to the boat using epoxy and wood putty. Fig. 11 and 12. Later I added an aluminum strip on the skeg to protect it. At this time I gave the entire exterior a coat of epoxy. This was a mistake. The day I did this was very damp. The epoxy did not set up and in some places took on a milky color. I had to wait several days for dry sunny weather, then I sanded if off and did it again. But it still needs at least one more coat. I will do that when it's finished. Fig 13
|
 Fig. 11 |

Fig 12. |

Fig. 13 |
|
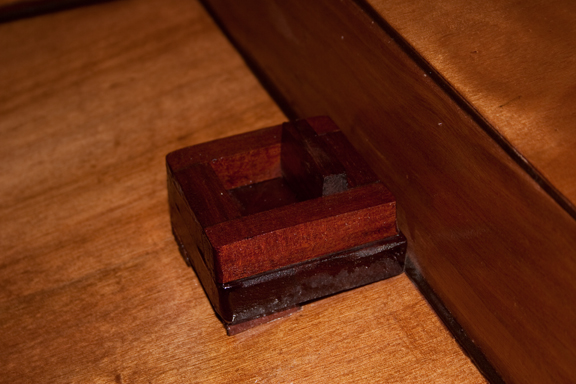
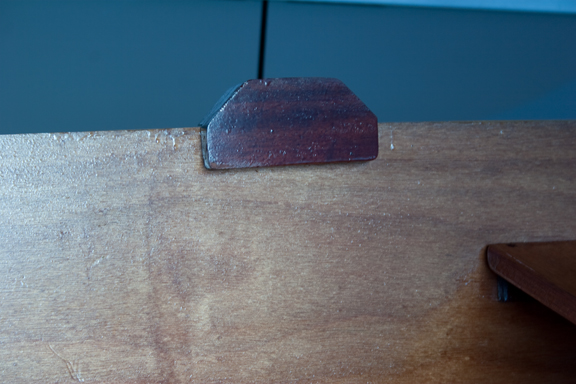
From this point it is a lot of small items to be fitted, and the finish work on the centerboard and rudder. Fig 14 show the rudder and the pieces to make the centerboard. I also have to make the cheek pieces for the rudder, the tiller, the mast partner and finish the centerboard. I also need to make a mast, mast step, boom and oarlocks. Fig. 15, 16, 17, 18, 19, 20 below. The mast is made from 2 red cedar, 1 X 2s. I cut off the corner edges making it hexagonal and planed off all the edges until it was round. The tape in fig. 20 covers a boo-boo being repaired. The strip at the top will be the boom. See Fig. 20.
|

Fig. 14 |

Fig. 15 |

Fig. 16 |

Fig. 17 |

FIG. 18 |

Fig. 19 |

Fig. 20 |
Nearly Done. Yesterday I sanded the interior and all the loose parts and today I spent putting epoxy resin on everything. Fig 21. Problems. I am outdoors. Bugs! Gnats love this stuff. Needles. We are in a grove of very large Douglas Fir. Needles are constantly falling. I have to use the canopy and a tarp as a "shed" to keep the stuff from falling on the wet epoxy. Last but not least. Bubbling. Air gets in the epoxy when you mix it. It bubbles up as the epoxy cures. I have reduced this by very careful slow mixing to reduce air in the epoxy. But I found out that bright sunlight also increases the bubbling, so it has to be in the shade. Anyone who knows how to eliminate the bubbles, e-mail me!
|
 Fig. 21 |
Yet to do: make a boom, install metal fittings, make a sail. Calculate capacity and make a label, and add the HIN. Coming Soon! |
|

|
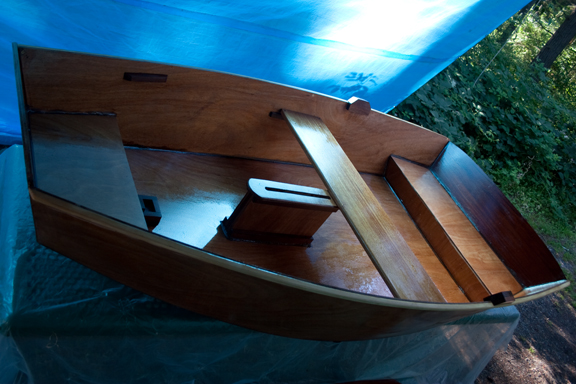
The finished boat!. We took her for her maiden voyage. She sails pretty well even with two on board. Unfortunately the wind was from non-existent to about 10 knots, mostly very light and variable. But it was a good trial. She is a bit sluggish and maybe the centerboard and rudder need to be a bit deeper. But I am pleased with how she turned out. Epoxy. There are excellent videos on the System Three Web site that anyone doing epoxy work should view. See System Three Epoxy They have some excellent videos on how to get a beautiful finish. |
|
What it looks like in 2021 As of November 18, 2022 I donated this boat to the Center for Wooden Boats in Seattle, WA. They have a great program for restoring and celebrating wood boats. https://www.cwb.org/. |
|
 |
 Mast step |
 Boat without mast |

Transom |
 Rear Seat |
 Rear Seat, Rudder and Tiller |
 Dagger Board and Trunk |
 Dinghy Bottom |
|
Page 1 Building The Boat Page 3 Calculating Capacity and Flotation |
|
| |
|
|
|
|
This Web site may contain copyrighted material the use of which has not always been specifically authorized by the copyright owner. I am making such material available in my efforts to advance understanding of educational, economic, and scientific issues, etc. I believe this constitutes a "fair use" of any such copyrighted material as provided for in section 107 of the US Copyright Law. In accordance with Title 17 U.S.C. Section 107, the material on this Web site is distributed without profit to those who have expressed a prior interest in receiving the included information for nonprofit educational purposes. For more information see: www.law.cornell.edu/uscode/17/107.shtml. If you wish to use copyrighted material from this Web site for purposes of your own that go beyond "fair use", you must obtain permission from the copyright owner. |
|
Ad


